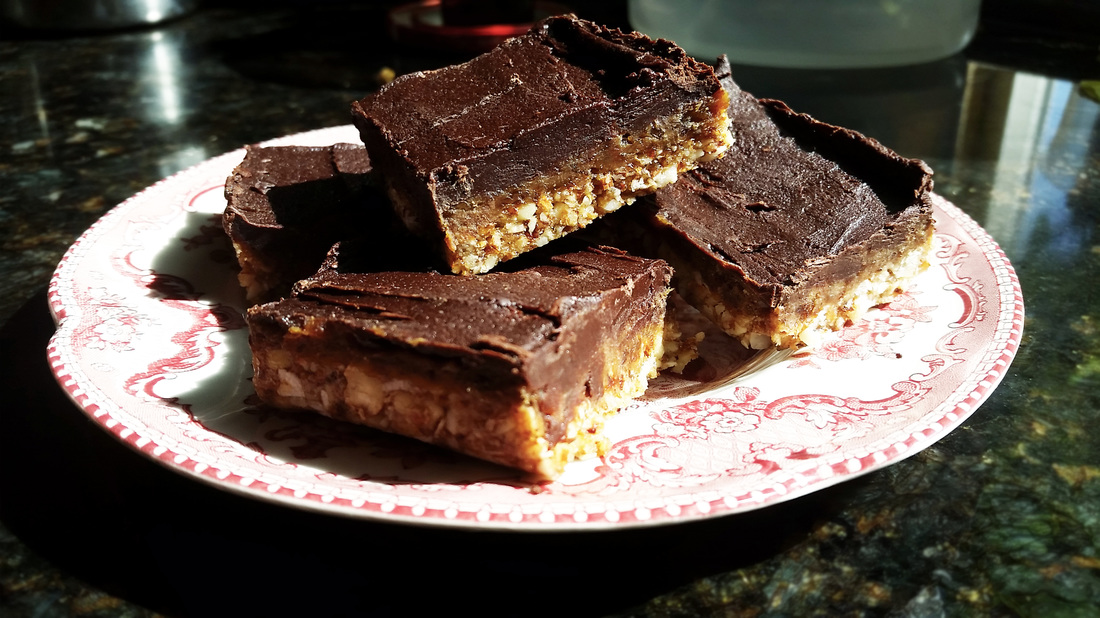
I am a self-proclaimed dessert enthusiast. It's becoming quite trendy to recreate classic desserts with healthier ingredients and I've been messing about with various recipes. Right now I'm absolutely nuts for these healthy "caramel" dark chocolate slices. I was inspired to make them after seeing it on another blog, but added a few cheeky twists of my own. They are dairy and processed sugar free too!
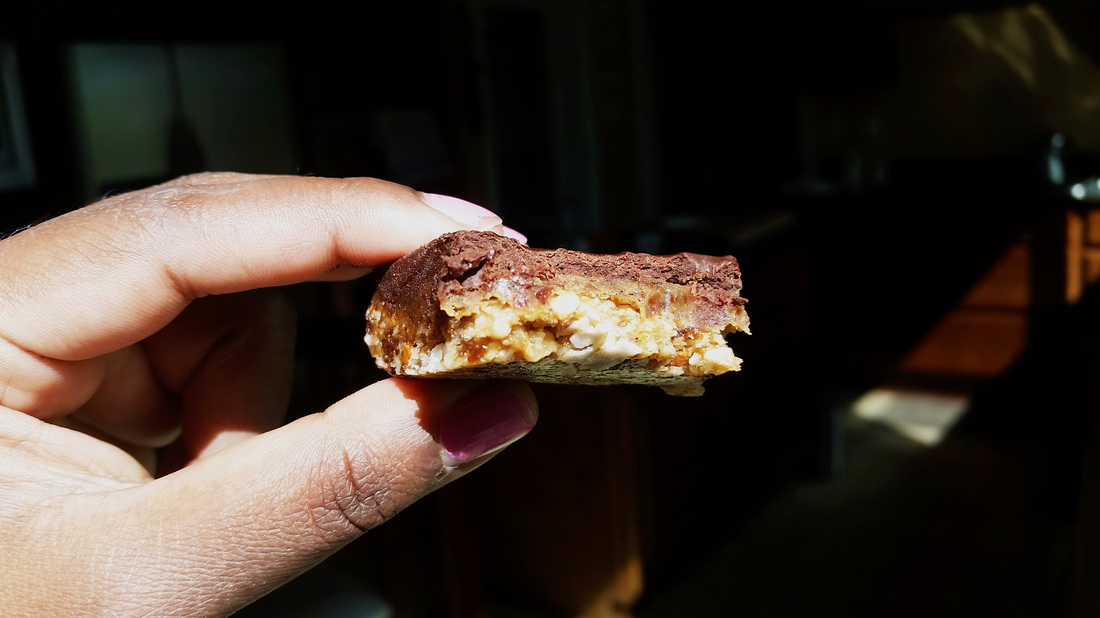
This dessert has three layers, made independently and layered. Other recipes use pitted dates as a binder/sweetener, but I decided to substitute them with raisins (I was out of dates at the time) and it tasted the same I also didn't have tahini sauce (used in middle layer) and substituted it with a blend of peanut butter and sesame oil. Let's get right into it!
INGREDIENTS
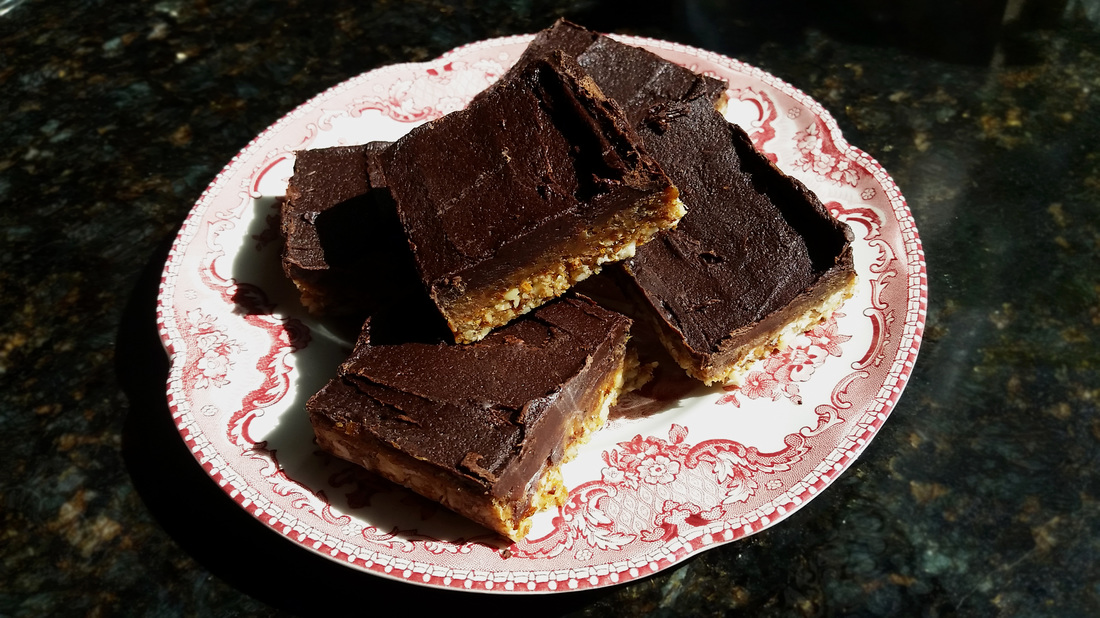
Bottom Layer 1 1/2 cups almonds (can also use walnuts, pecans or cashews) 1/2 cup coconut flakes 1/2 cup soaked & drained raisins 1 tbs maple syrup or honey Middle Layer 1 1/2 cups soaked & drained raisins 1/4 cup coconut oil 3/8 cup peanut butter & sesame oil blend OR 3/4 cup tahini sauce 1/8 tsp sea salt Top Layer 2/3 cup cocoa powder 1/2 cup liquid coconut oil 1/4 cup maple syrup or honey Optional: Add a pinch of cinnamon and vanilla extract for added flavor DIRECTIONS 1. In a food processor, pulse together all the bottom layer ingredients until it forms into a sticky, gritty clump (like my technical terminology here?). Line a baking tray (I used a 6"x10" tray) with parchment paper. Use your hands to spread the dough in a thin layer and smooth out with a spoon. Place uncovered in freezer. 2. Blend all ingredients for the middle layer. Spread it an even layer on top of the "dough", and place the tray back in the freezer. 3. Using a mixing bowl or blender, mix the liquefied coconut oil and maple syrup into the cocoa powder and blend until uniform. I'm a rebel and do what I want so I added cinnamon and vanilla to give it more depth of flavor. Spoon this mixture on top of the middle layer and smooth it out. Key step: be sure to lick all the extra chocolate out of the bowl until you can stare at your reflection in shame. 4. You can add toppings if you like (ie:- dried berries, nuts, coconut flakes, etc), but be sure to do it while the chocolate is still sticky so they don't fall out later. Cut it into sections now so you can easily break them apart later (I did 2"x2" pieces). Place tray in freezer and let it set for a few hours. Take it out when all the layers are solid! Store it in the fridge until it's all eaten up (so....realistically in like 2 hours??) Hope you like this dessert! I found it to be a satisfying and energy-boosting snack, minus all the gross and processed ingredients. 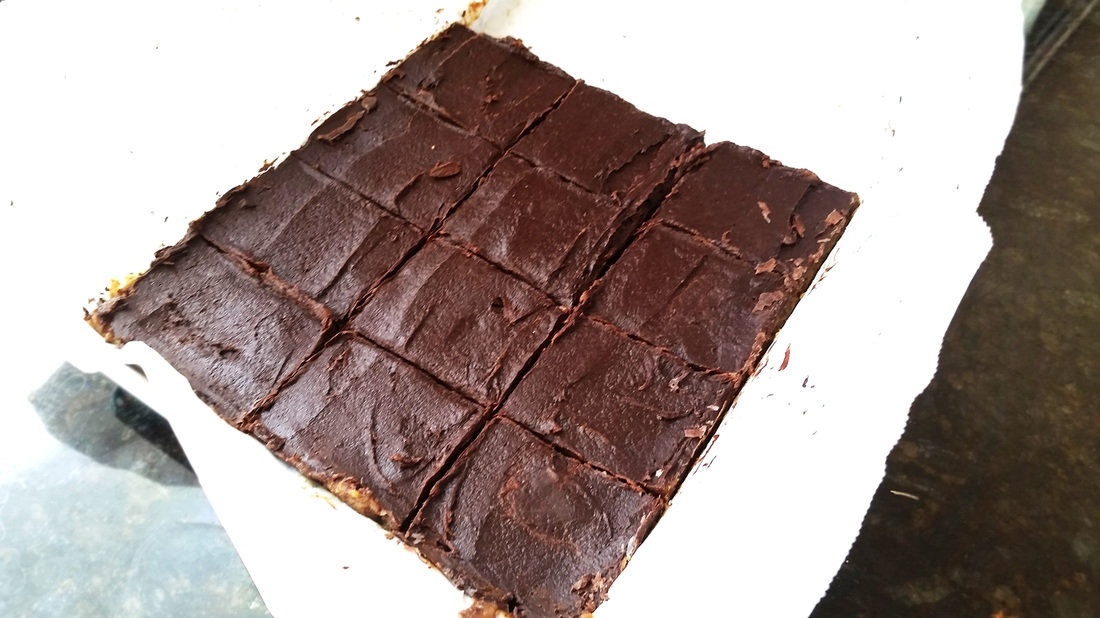
Want to see more recipes like this? Be sure to Like/Comment below!
1 Comment
|
 RSS Feed